Beranda
/ How To Use A Coffee Pot Percolator - Vintage Corning SPICE OF LIFE Stove Top 10 Cup Coffee Pot ... : You should allow approximately 6 to 8 ounces of water for each serving.
How To Use A Coffee Pot Percolator - Vintage Corning SPICE OF LIFE Stove Top 10 Cup Coffee Pot ... : You should allow approximately 6 to 8 ounces of water for each serving.
Insurance Gas/Electricity Loans Mortgage Attorney Lawyer Donate Conference Call Degree Credit Treatment Software Classes Recovery Trading Rehab Hosting Transfer Cord Blood Claim compensation mesothelioma mesothelioma attorney Houston car accident lawyer moreno valley can you sue a doctor for wrong diagnosis doctorate in security top online doctoral programs in business educational leadership doctoral programs online car accident doctor atlanta car accident doctor atlanta accident attorney rancho Cucamonga truck accident attorney san Antonio ONLINE BUSINESS DEGREE PROGRAMS ACCREDITED online accredited psychology degree masters degree in human resources online public administration masters degree online bitcoin merchant account bitcoin merchant services compare car insurance auto insurance troy mi seo explanation digital marketing degree floridaseo company fitness showrooms stamfordct how to work more efficiently seowordpress tips meaning of seo what is an seo what does an seo do what seo stands for best seotips google seo advice seo steps, The secure cloud-based platform for smart service delivery. Safelink is used by legal, professional and financial services to protect sensitive information, accelerate business processes and increase productivity. Use Safelink to collaborate securely with clients, colleagues and external parties. Safelink has a menu of workspace types with advanced features for dispute resolution, running deals and customised client portal creation. All data is encrypted (at rest and in transit and you retain your own encryption keys. Our titan security framework ensures your data is secure and you even have the option to choose your own data location from Channel Islands, London (UK), Dublin (EU), Australia.
How To Use A Coffee Pot Percolator - Vintage Corning SPICE OF LIFE Stove Top 10 Cup Coffee Pot ... : You should allow approximately 6 to 8 ounces of water for each serving.. In general, use one tablespoon of coarsely ground coffee per cup of water to make a strong brew. It's important to remember that the actual cooking time may vary due to differences in temperature and percolator design. You should only put in enough water in a pot to make the amount of coffee that you will consume in a setting. If using an electric percolator, just turn it on. How long do you let coffee percolate in a percolator?
Add cold water to the water reservoir of the percolator. Making coffee in a percolator camping pot is easy to do when you add in the right amount of water. You want to let the water heat slowly; How to use a percolator fill the body of the percolator up with the desired amount of water (using the measurement marks that should be located on the inside). Boiling water rises up through a metal tube in the center of the percolator and then sprays over the coffee grounds which are sitting at the top of a metal screen filter.
Percolator Coffee Pot Instructions - The Coffee Table from i.ytimg.com Place your percolator on a cold burner if it is a stovetop model. You should allow approximately 6 to 8 ounces of water for each serving. A step by step guide on how to use a glass percolator: Pour the desired amount of water into the chamber at the bottom of the percolator pot. In this coffee method, hot water is heated until it rises through a tube into the coffee grounds which are kept in the top filter basket. Then, pop the pot open and toss out the steaming, percolated grounds. Once the pot is moved away from direct. To use a percolator coffee pot for camping, you will need a fire source, coarsely ground coffee beans, and water.
If you have an electric one, plug it in.
Place the coffee pot basket in the pump stem and place it in the percolator. The bubbles contain the water vapor that will then travel up the tube to the device's top. The coletti percolator is designed with a wooden handle so it easy to grab, but it's still a good idea to use a towel to protect yourself from the heat. Place your percolator on a cold burner if it is a stovetop model. For a weaker brew, use a teaspoon per cup. If you want to use a stovetop for the heating process, you can start to boil it. First, using a coffee percolator is super easy to use. Add your coffee grounds : Get the coffee basket as well as the stem, and put them inside the pot. Personally, i find this method a lot easier than using a french press, and clean up is a breeze. Hence starting with cold water will help. Here is a video that will help you to use a glass coffee percolator. In order to make a good cup of coffee using a camping coffee percolator, a person must brew their coffee for around 15 minutes or until the lid starts to percolate.
Then, pop the pot open and toss out the steaming, percolated grounds. Add cold water to the water reservoir of the percolator. After the first few brews, you'll get a good idea of how much coffee you need for making percolator coffee. Percolators work best on both gas and electric stoves. Here is a video that will help you to use a glass coffee percolator.
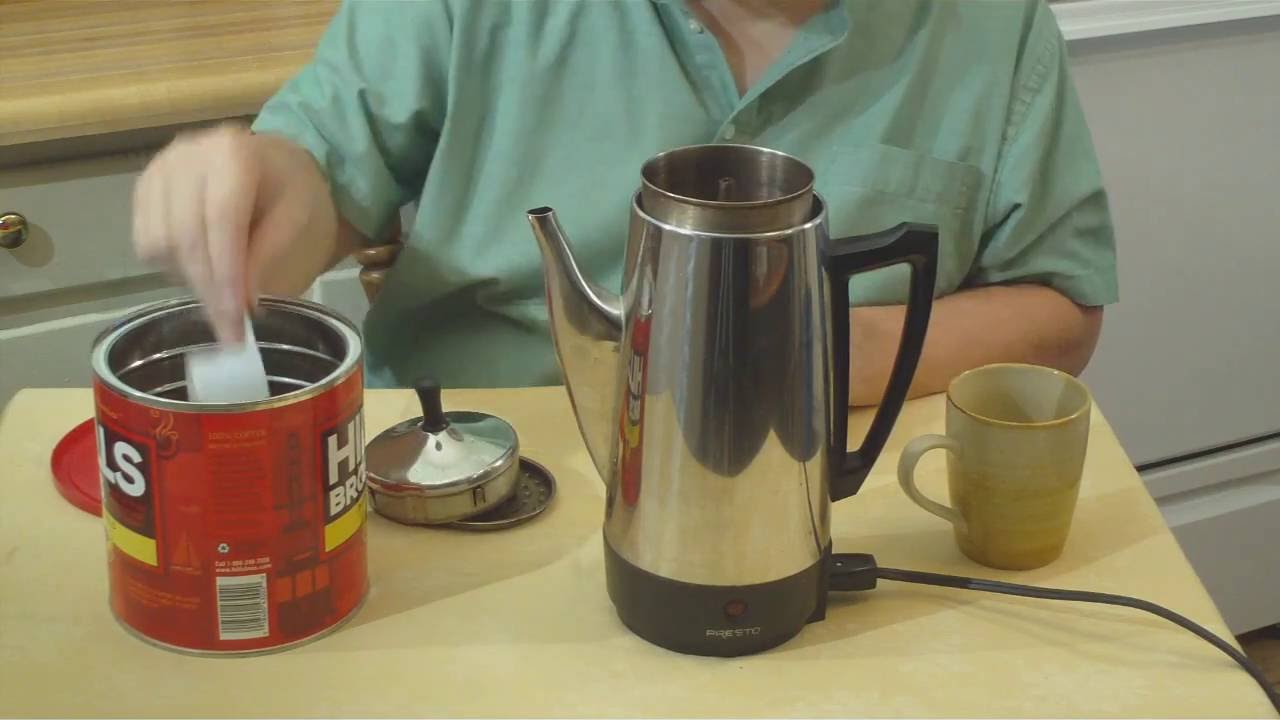
Presto 12 Cup Percolator Coffee Pot 02811 - YouTube from i.ytimg.com Perfect skill for camping coffee, the prepared folks and those who just wan. How a percolator works percolated coffee has a great, rich coffee flavor if you do it right. To brew coffee using a percolator, you need to follow these steps. Choosing a coffee with low acidity is recommended as the percolator brings out the bitterness in your brew. How long do you let coffee percolate in a percolator? Using the level indicator markings located inside the unit's body (approximately where the percolator's handle is located), fill the unit's pot with your desired amount of fresh, cold water. Fill the grounds basket with the desired amount of coffee (coffee filter is optional). First, using a coffee percolator is super easy to use.
Fill the boiler of the percolator with water to the desired level using the side markings of the coffee pot as a guide.
Let it run a full brewing cycle (about 10 minutes), then remove from heat (or turn off), and let it cool. Place your percolator on a cold burner if it is a stovetop model. If you have an electric one, plug it in. The next thing that you have to do is to put coffee on the top of the percolator, which should be above the water. Add cold water to the water reservoir of the percolator. The preferred temperature for optimum results is between 195 and 200 degrees fahrenheit In this video, i will show you how to make 3 cups of coffee in a coleman 9 cup coffee percolator on the stove. The bubbles contain the water vapor that will then travel up the tube to the device's top. Get started on your guest list! To use a percolator coffee pot for camping, you will need a fire source, coarsely ground coffee beans, and water. Use a sponge to gently wipe clean the percolator's main pot. It's important to remember that the actual cooking time may vary due to differences in temperature and percolator design. Using the level indicator markings located inside the unit's body (approximately where the percolator's handle is located), fill the unit's pot with your desired amount of fresh, cold water.
Here is how a percolator coffee maker works: Once the water has reached a roaring boil, a device captures the bubbles formed and directs them up a tube. In this video, i will show you how to make 3 cups of coffee in a coleman 9 cup coffee percolator on the stove. Once the water has begun to boil, you should move the percolator away from the direct flame to lower the heat. For a weaker brew, use a teaspoon per cup.
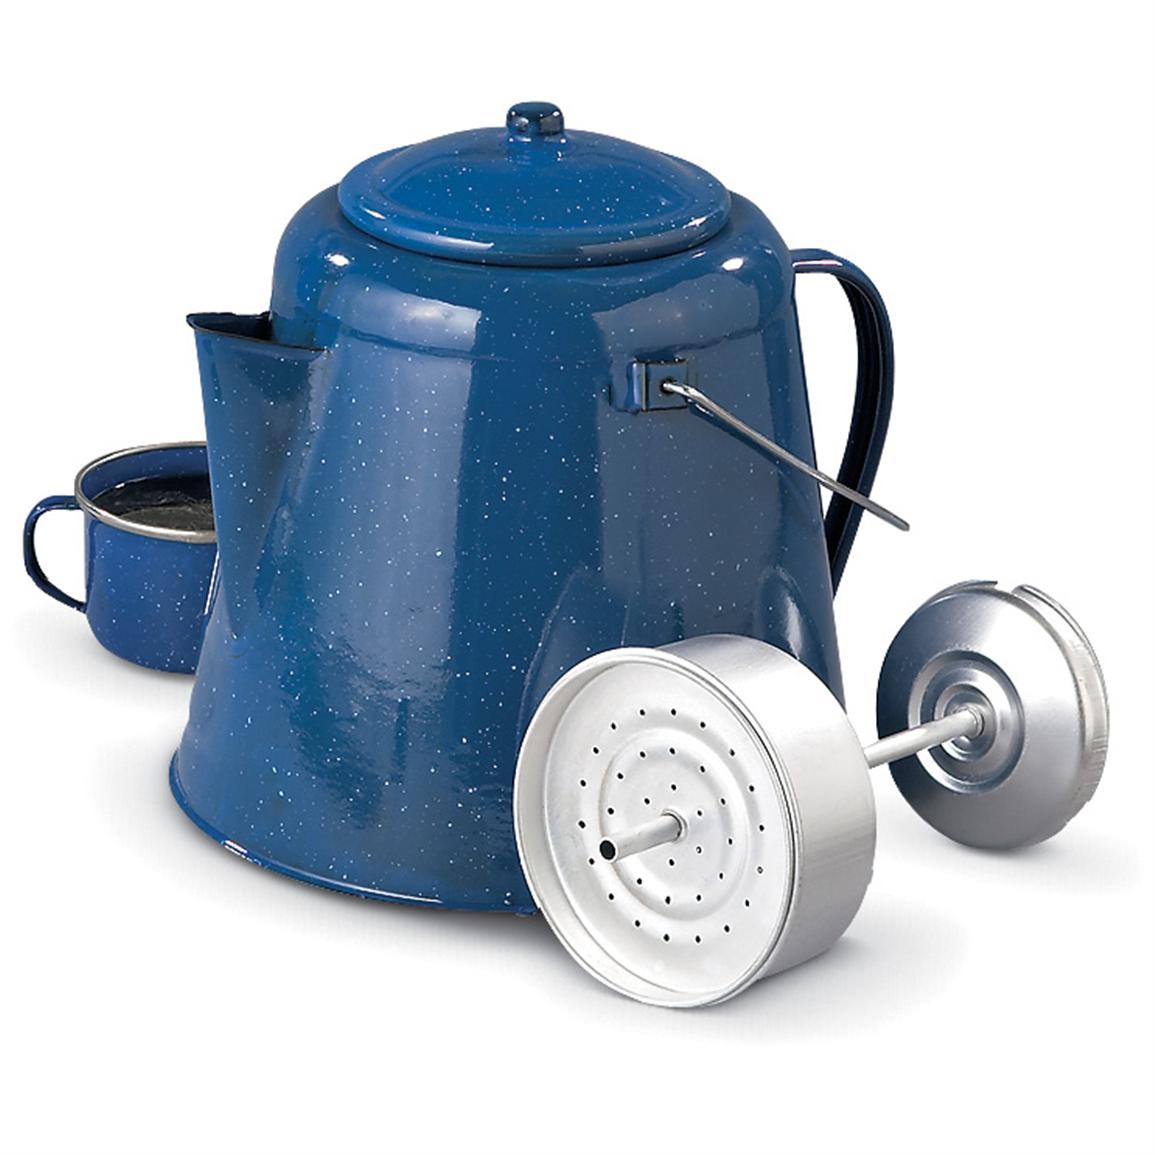
20 - cup Enamel Percolator Coffee Pot, Royal Blue - 130025 ... from image.sportsmansguide.com First, measure out your water into the percolator's base. This can be a campfire with a grate, a camp stove, or a grill. Heat the water gently until gets to a near boil and pass through the coffee and up to the pot. Add your coffee grounds : Choosing a coffee with low acidity is recommended as the percolator brings out the bitterness in your brew. Get started on your guest list! Combine equal parts of water and white vinegar inside the percolator, and place over medium heat. In this coffee method, hot water is heated until it rises through a tube into the coffee grounds which are kept in the top filter basket.
First, measure out your water into the percolator's base.
The coletti percolator is designed with a wooden handle so it easy to grab, but it's still a good idea to use a towel to protect yourself from the heat. Making coffee in a percolator camping pot is easy to do when you add in the right amount of water. Place your percolator on a cold burner if it is a stovetop model. Put your percolator on your heat source. • open the percolator and add water to the bottom chamber. Here is a video that will help you to use a glass coffee percolator. The boiling water then passes through the grounds and then drops back to the bottom of the percolator again. Once the water has begun to boil, you should move the percolator away from the direct flame to lower the heat. Hence starting with cold water will help. You want to let the water heat slowly; Next, put the percolator's basket onto the stem and measure in your coffee. If you happen to use warm water (or use the unit when it is still hot/warm), the resulting brew will be weak. In this video, i will show you how to make 3 cups of coffee in a coleman 9 cup coffee percolator on the stove.